

I Love Caulk

Caulk by room

Kitchen

Where the magic happens (in the sink)

The kitchen takes a beating: heat, grease, moisture, and the occasional catastrophic pasta boil-over. The caulk around your sink, countertops, and backsplash needs to be waterproof, grease-resistant, and ideally not something you have to redo every year. Here's what to reach for.

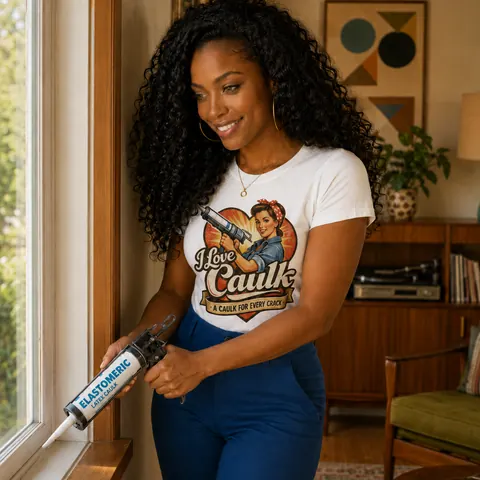
Your guideRosie, head caulker
Rosie caulking the seam between a kitchen countertop and backsplash
Rosie at the backsplash, where the counter meets the tile.

Where to caulk in the kitchen

Every joint in the room, what goes in it, and why. The color bar matches the formulation.

Sink rim

Constant water, soap, and temperature swings. You need a bead that stays flexible and bonds to stainless, porcelain, and stone.

On undermount sinks the clips and epoxy hold the sink up. The silicone only seals the reveal.

Our pick: GE Silicone 2 Kitchen & Bath
Tile backsplash corners

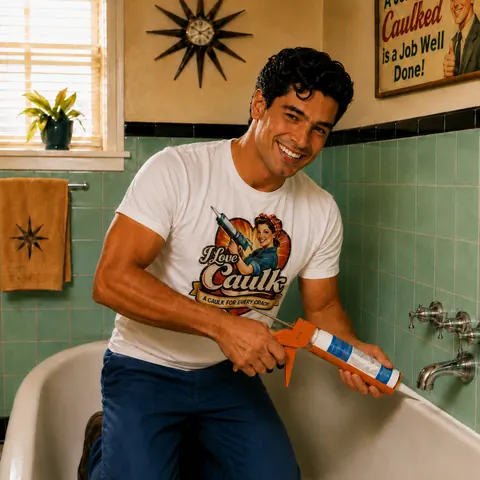
Grout cracks where two planes meet. Tile guidelines call for a flexible sealant at inside corners and where tile meets the counter. Sanded caulk matches sanded grout.

Our pick: Polyblend Sanded Tile Caulk

Faucet base and sprayer

Most faucets come with a gasket. Follow the faucet's instructions: many call for plumber's putty or silicone, and some putties stain natural stone.

Our pick: GE Silicone 2 Kitchen & Bath

Range and cooktop gaps

Not a caulk job

Leave the gap beside a slide-in range open so it can slide out. Drop-in cooktops seal with the manufacturer's own gasket.

Don't run ordinary caulk against a hot appliance.

Re-caulk a kitchen sink

  1. Cut out the old bead

    Slice along both edges with a utility knife or plastic razor, then peel. Take your time on stone and stainless.

  2. Remove every bit of residue

    Silicone remover softens what's left. Finish with isopropyl alcohol on a clean rag until the rag comes away clean.

  3. Let it dry

    If water got under the old bead, give it overnight. Caulk over damp gaps traps moisture and mildew.

  4. Tape the lines (optional)

    Painter's tape on both sides of the joint gives you razor-straight edges and a very forgiving cleanup.

  5. Lay one continuous bead

    Cut the nozzle small at about 45°. Keep the gun moving at a steady pace and don't stop mid-run if you can help it.

  6. Tool it, pull the tape, wait

    Smooth with a tooling tool or a fingertip dipped in soapy water, pull the tape at once, then let it cure as long as the tube says before you run the tap.

Mistakes we see

  • Using painter's acrylic at the sink. It softens, stains, and mildews in constant water.
  • Caulking over old caulk. New caulk sticks to the old bead, and the old bead is already letting go.
  • Cutting the nozzle too big. A fat bead is not a stronger bead, just a messier one.
  • Grouting the counter-to-backsplash corner. Grout is rigid, the corner moves, and the crack comes back.

How long it lasts

Check it
Every spring, and whenever you deep-clean the sink.
Redo when
It peels, cracks, gaps, or shows dark spots under the surface.
Typical life
Several years for good silicone that went on clean and dry.

Kitchen questions

Can I use clear caulk in the kitchen?

Yes. Clear silicone is great on stone and busy backsplashes. It shows dirt and residue underneath, so clean the joint thoroughly first.

Does kitchen caulk need to be food safe?

Caulk around a sink or backsplash isn't a food-contact surface. If you're sealing something food touches directly, look for a sealant certified for food contact (NSF/ANSI 51).

How soon can I use the sink?

Many kitchen and bath silicones are water-ready in 30 minutes to a few hours and fully cured in about a day. The tube is the boss; follow it.

More answers in the full FAQ, or let the Caulk Finder pick for you.