Tub to tile or surround
The hardest-working joint in the house. A mildew-resistant 100% silicone stays flexible as the tub moves under your weight.
Our pick: GE Silicone 2 Kitchen & Bath
Caulk by room
The room that sees the most action
No room in the house demands more from its caulk than the bathroom. Constant moisture, temperature swings, soap scum, and the biological creativity of mold spores make this the toughest gig in DIY. Go 100% silicone wherever water is present. For tile-to-tile seams where flexibility isn't critical, a sanded grout caulk in a matching color is your best friend.
 Your guideFlavio, wet-zone specialist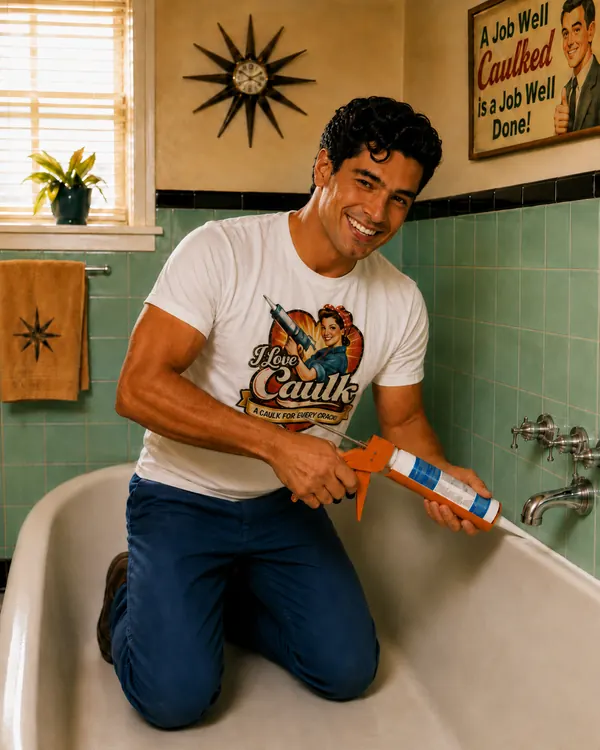
Every joint in the room, what goes in it, and why. The color bar matches the formulation.
The hardest-working joint in the house. A mildew-resistant 100% silicone stays flexible as the tub moves under your weight.
Our pick: GE Silicone 2 Kitchen & Bath
Same job as the tub joint: water, movement, and cleaning chemicals. Silicone, every time.
Our pick: GE Silicone 2 Kitchen & Bath
Where walls meet or tile meets the tub, grout cracks. Use silicone or a color-matched sanded caulk instead.
Our pick: Polyblend Sanded Tile Caulk, GE Silicone 2 Kitchen & Bath
Seal where the frame meets the tile, following the door's instructions.
Never caulk the weep holes at the bottom of the frame. They let water back out.
Our pick: GE Silicone 2 Kitchen & Bath
Water behind the trim plate means water in the wall. Seal the top and sides; many pros leave a small gap at the bottom so anything that sneaks in can drain out.
Our pick: GE Silicone 2 Kitchen & Bath
Splash zone. Clear or color-matched silicone keeps water off the drywall behind the vanity.
Our pick: GE Silicone 2 Kitchen & Bath, Gorilla 100% Silicone
Seals out mop water and steadies the bowl. Many plumbers caulk the front and sides and leave a gap at the back so a leak shows itself. Check your local code.
Our pick: GE Silicone 2 Kitchen & Bath
Humid but not wet. Paintable siliconized acrylic handles the steam, and sealing the fan housing to the ceiling stops warm air leaking into the attic.
Our pick: DAP Alex Plus
Cut, peel, and scrape. Soften stubborn silicone with a remover and use a plastic scraper on acrylic tubs.
Scrub the joint with a mildew cleaner or diluted bleach, rinse well, and never mix bleach with other cleaners.
Give it at least a day, with the fan running. Moisture trapped under a new bead is how black caulk starts.
The weight pulls the tub down to its widest gap, so the bead isn't stretched the first time someone gets in.
Tape both sides, lay a steady bead, tool it with a soapy fingertip, and pull the tape right away.
Leave the water in until the caulk sets, and hold off showering for as long as the tube says. A full day is a safe bet.
Caulk, specifically silicone or a sanded caulk. Corners move; grout doesn't, so it cracks.
Usually mold growing under or into the bead because the joint was damp or dirty when it was sealed. Bleach can't reach it. Cut it out, dry thoroughly, and re-caulk.
Match the tub or the grout. Clear silicone looks cloudy at first and clears as it cures, but it shows any gunk left underneath.
More answers in the full FAQ, or let the Caulk Finder pick for you.